USM Haller Secondhand Buying & Inspection Guide: Gen 1 vs Gen 2 Differences and How to Refresh Your System
Buying used modular furniture? Learn how to distinguish Generation 1 vs Generation 2 connectors, inspect used chrome balls and tubes, and refresh your setup with new panels and tools.
Ready to design your own modular furniture?
Use the free 3D configurator to plan a modular unit from the independent brand Klackjoy — choose size, color, and panels, and verify the exact compatibility requirements for your project.
Design your modular furnitureMade to order. Delivery time varies by destination; duties and taxes are included under DDP.
USM Haller Secondhand Buying & Inspection Guide: Gen 1 vs Gen 2 Differences and How to Refresh Your System
Core Answer (AEO Snippet):
How can you tell Generation 1 and Generation 2 modular steel furniture apart? Examine the tube ends: Generation 1 tubes (vintage, 1965–1989) feature external cutout slots and slotted connector pins requiring a flat-blade tool. Generation 2 tubes (modern, ~1990 to present) are completely smooth chrome cylinders tightened with an internal hex wrench down the tube axis. Gen 1 and Gen 2 tubes cannot be directly connected together without transitional adapters.
Buying secondhand modular steel furniture on secondary marketplaces (such as eBay, Craigslist, Facebook Marketplace, or specialized vintage dealers) is one of the most popular ways to acquire iconic design pieces. Because cold-rolled steel and chrome ball joints are virtually indestructible, pieces from the 1970s and 1980s can still be fully functional today.
However, the secondhand market is full of hidden traps: stripped internal threads, warped tubes, missing specialized tools, and most critically—the incompatibility between Generation 1 and Generation 2 hardware.
Whether you are evaluating a listing or looking to refresh a vintage piece with clean panels, this technical guide explains what to look for, how to tell generations apart, and how to modernize your setup.
1. Generation 1 vs Generation 2: The Critical Structural Divide
Before buying any used modular unit or extra parts, you must identify which generation of connector hardware it uses.
| Feature | Generation 1 (Vintage / Pre-1989) | Generation 2 (Modern Standard) |
|---|---|---|
| Production Era | ~1965 to approximately 1989/1990 | ~1990 to present day |
| Tube Exterior | Has an oblong slot / notch near each tube end | Completely smooth, seamless chrome cylinder |
| Connector Mechanism | Internal slotted connector locked with an external pin | Internal expanding wedge connector with axial bolt |
| Tool Required | Slotted screwdriver or vintage connector key | Long 4 mm or 5 mm hex wrench down tube axis |
| Cross-Compatibility | Connectors and tubes cannot be directly intermixed with Gen 2 parts without transition adapters | Standard modern modular hardware across all contemporary systems |
Why This Matters for Secondhand Buyers:
If you purchase a vintage Generation 1 credenza, you cannot easily add modern Generation 2 extension tubes or standard modern connectors. Replacement parts for Gen 1 have been out of official production for decades and command exorbitant collector premiums.
Buyer Tip: Always ask the seller for a close-up photo of the tube ends where they meet the chrome ball. If you see a small cutout slot or hole, it is Gen 1. If the tube is a smooth, continuous cylinder, it is Gen 2.
2. The 5-Point Secondhand Frame Inspection Checklist
When inspecting a pre-owned modular unit in person or requesting video from a seller, check these five failure points:
1. Ball Node Internal Threads
- The standard chrome sphere uses M8 internal threads.
- Inspect whether any ball threads have been stripped by previous over-tightening or cross-threading. A stripped ball node cannot hold tension and must be replaced.
2. Tube Straightness (The "Roll Test")
- Many owners attempt to move fully assembled credenzas up staircases or in moving vans. This frequently introduces a subtle bend into long (750 mm) tubes.
- The Test: If the seller has disassembled the unit, roll each tube along a flat table or glass surface. A bent tube will wobble and can never be pulled straight in an assembled grid.
3. Panel Clips and Powder-Coat Chipping
- Remove a panel to check the perimeter flange. Vintage panels often develop chips around the clip contact points where metal rubs metal.
- Check bottom panels underneath for moisture rust, especially if the unit was kept in a basement or garage.
4. Drop-Down Door Hardware Tension
- Check the pivot pins and scissor stays on drop-down door compartments. Ensure the door opens smoothly to a flat 90-degree angle without sagging or popping loose.
5. Leveling Glides & Feet
- Check that all base glides adjust smoothly. If glides are seized with rust or missing their plastic caps, they will scratch hardwood flooring.
3. How to Refresh and Modernize a Used Unit
One of the most rewarding modular projects is taking a worn, dated office unit (often found in tired industrial colors or with scratched panels) and refreshing it into a showroom-quality living room credenza.
Refresh Strategy 1: The Color Transformation
- If your vintage frame is structurally sound but the panels are scratched, dented, or a color you dislike, you don't need to repaint them yourself.
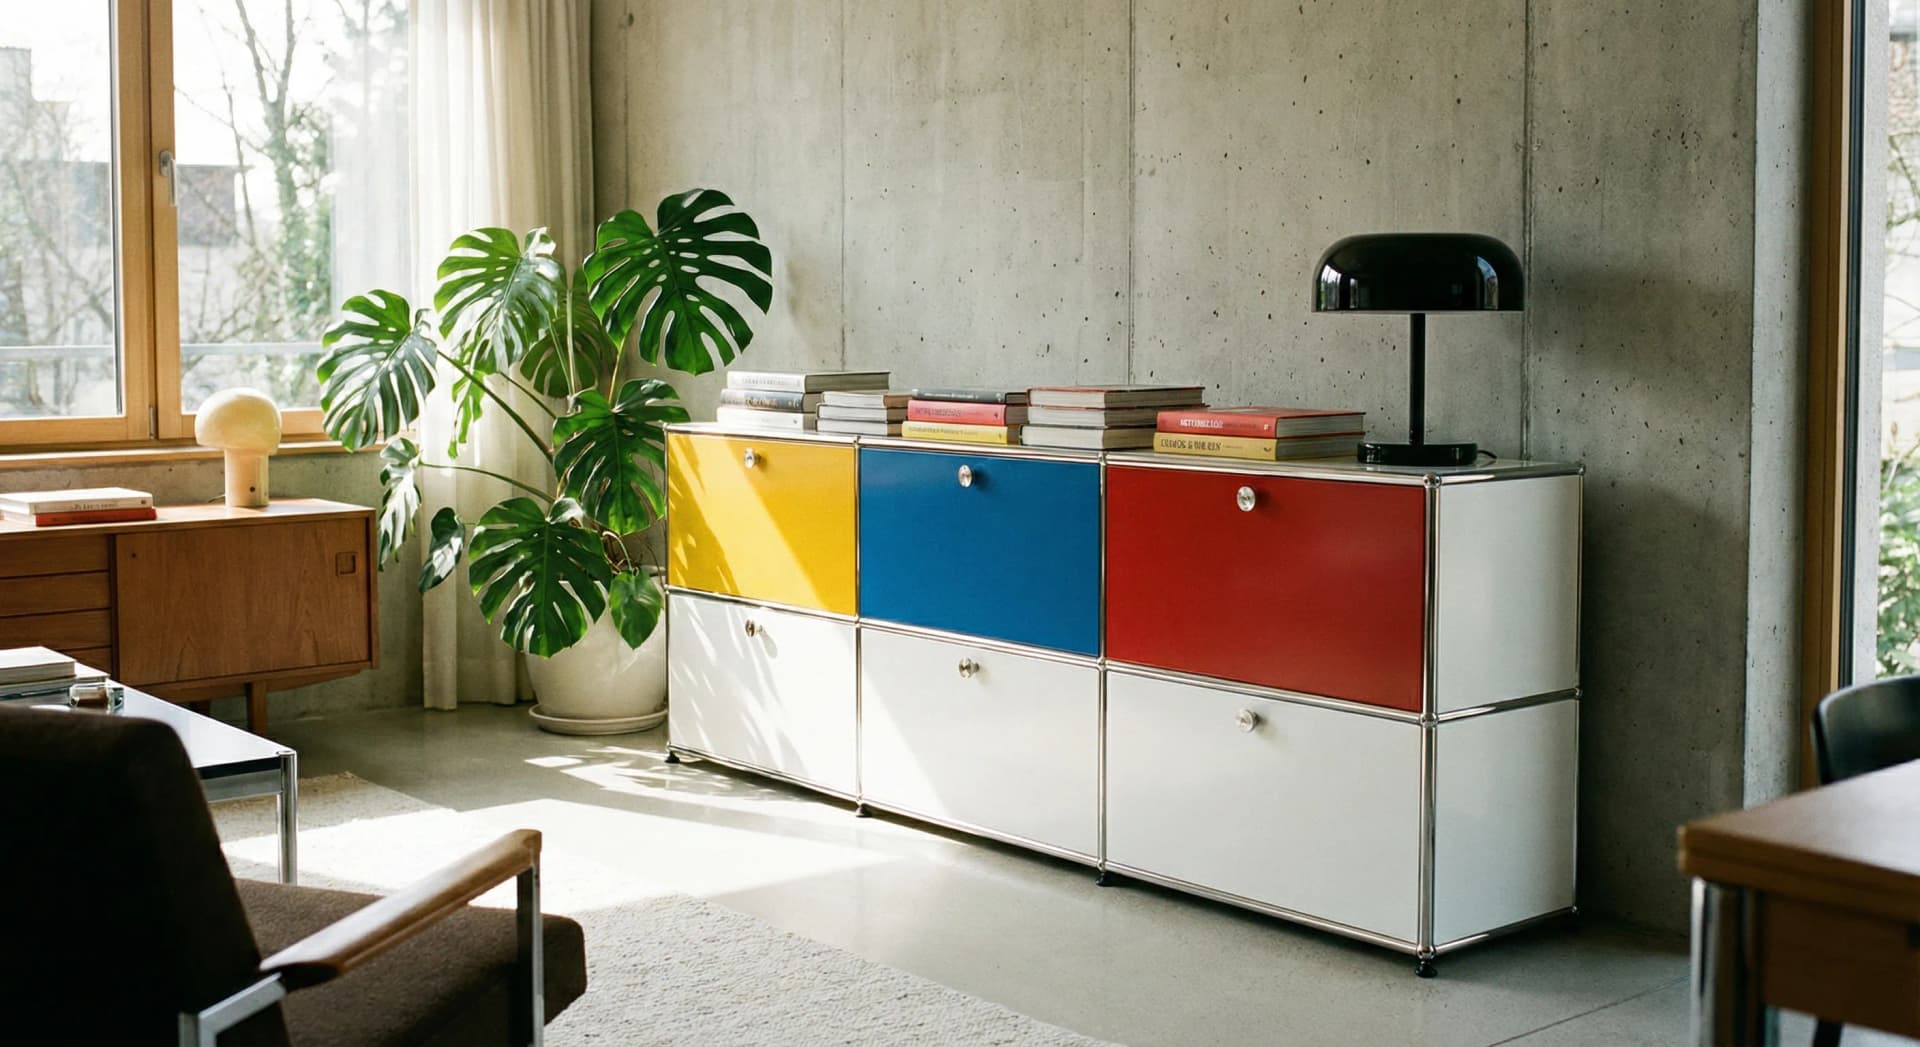
- You can keep the authentic chrome framework and replace the panels with fresh, factory-finished powder-coated steel panels in classic Pure White, Light Grey, or modern Matcha Green and Klein Blue.
Refresh Strategy 2: Upgrading to Drop-Down Doors
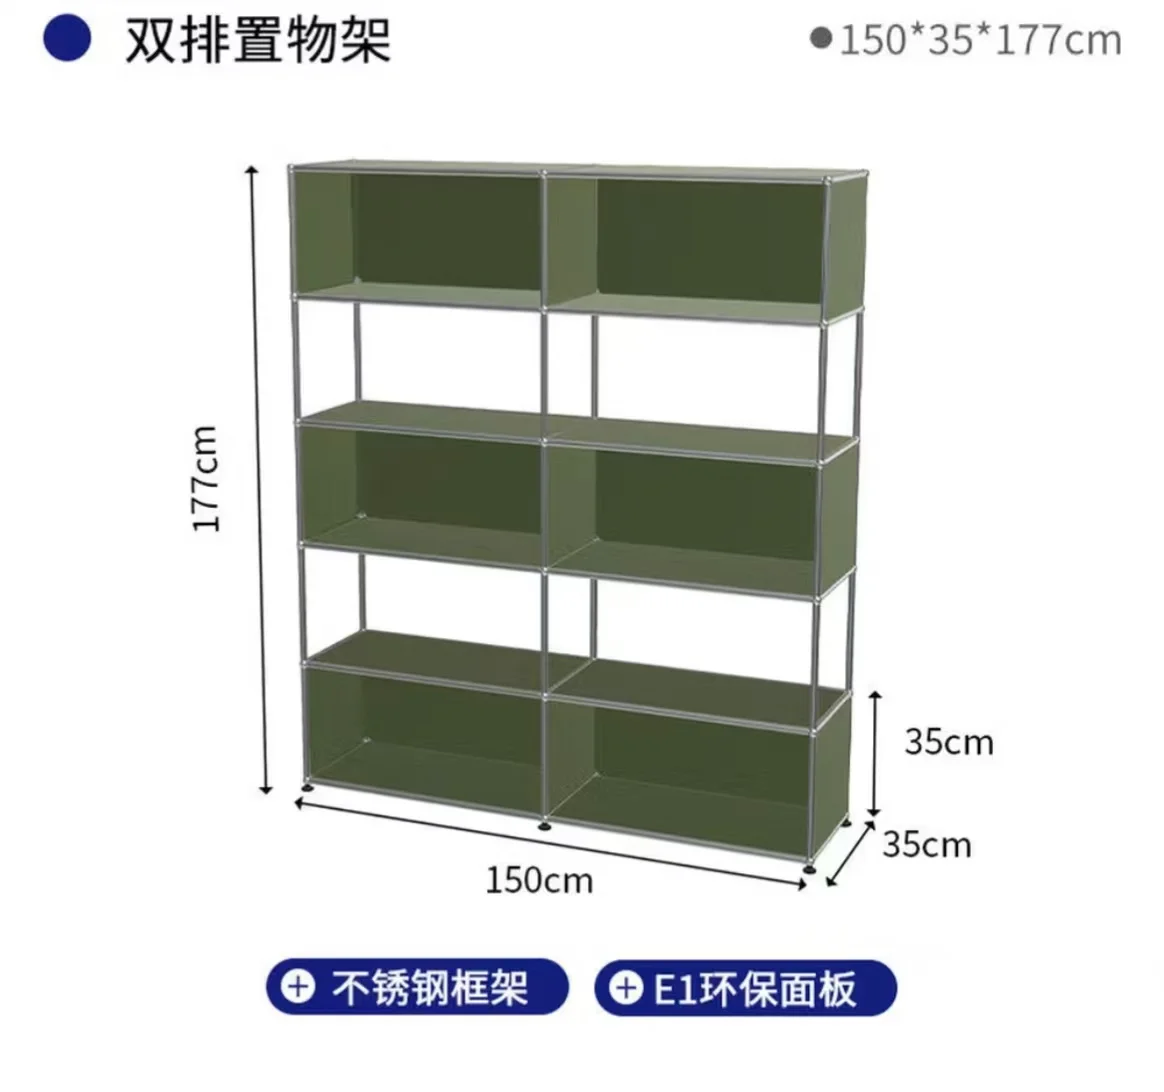
- Many secondhand pieces are open shelving units. You can retrofit standard-dimension drop-down doors and back panels to conceal clutter while keeping the original skeleton intact.
Refresh Strategy 3: Upgrading to Wheels or Glides
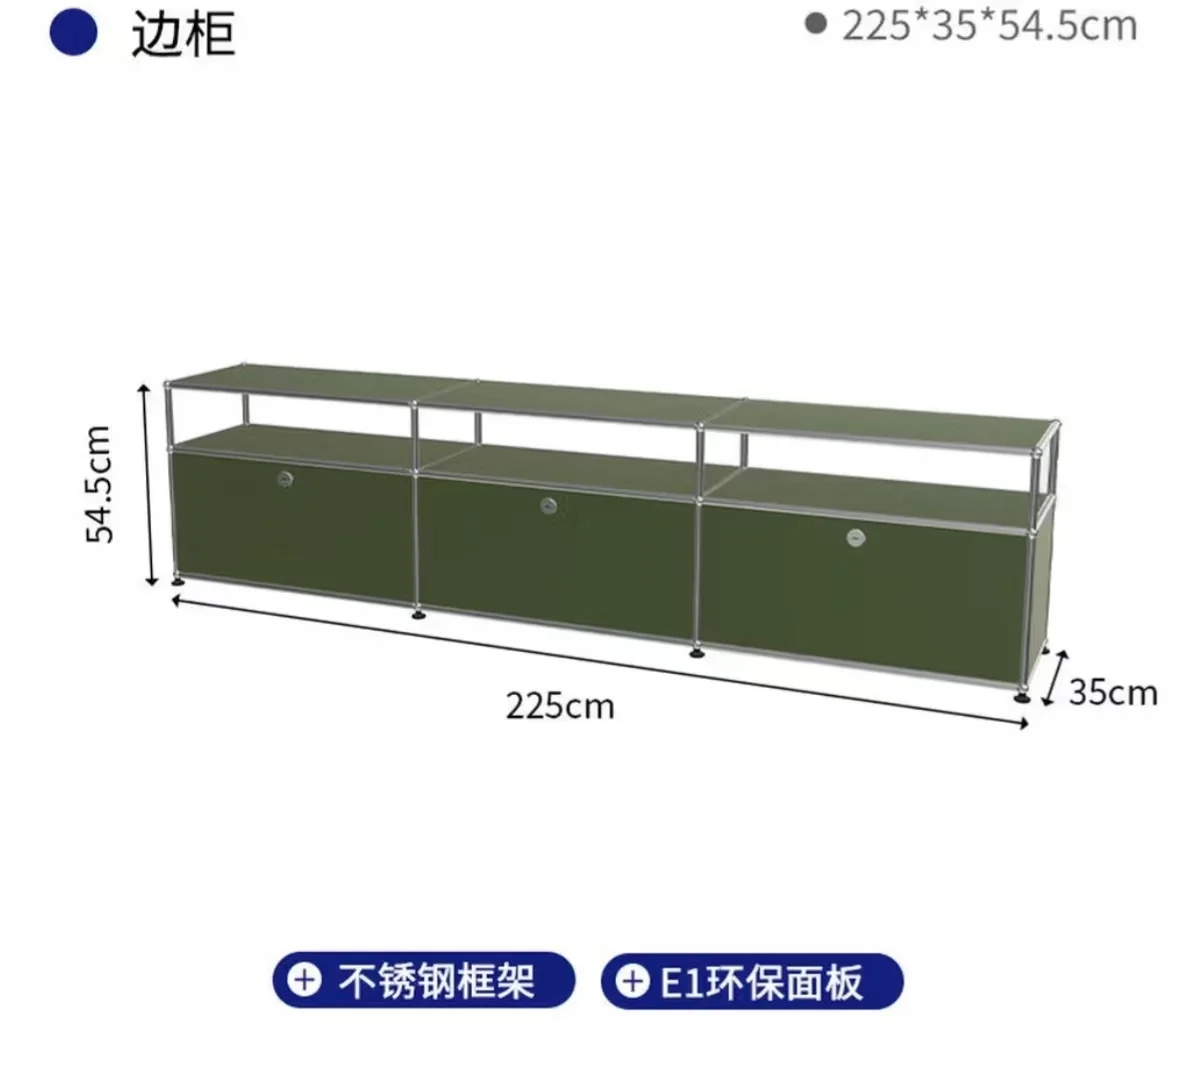
- Converting a static office credenza into an active mobile bar cart or media trolley simply requires replacing the bottom M8 glides with smooth-gliding locking castors.
4. How Klackjoy Helps Modular Furniture Owners
At Klackjoy, our modular systems are built on standard architectural dimensions (including 350 mm, 500 mm, and 750 mm module lengths, standard 25 mm ball nodes, and standard panel clip channels).
- Precision Assembly Tools Included Free: Every modular unit order comes with complete precision hex tools and assembly guides right in the box.
- Replacement & Custom Panels: Choose from 21 factory-finished colors to upgrade or replace panels without paying luxury dealer surcharges.
- Online 3D Visualizer: You can model your exact existing unit in our 3D configurator to plan your expansion before ordering extra components.
Shop the Klackjoy modular system
Read next
 Where to Buy Used USM Haller: A Practical GuideThe real marketplaces for secondhand USM Haller, a pre-purchase inspection checklist, negotiation tips, and when refurbishing with compatible-new parts is the smarter buy.
 USM Haller: Buy Used or Compatible-New?Used USM Haller is cheap — but where does compatible-new win? Exact configuration, no wear, a 10-year warranty, 60–70% below new USM, and physically 1:1 compatible.
Ready to design your own modular furniture?
Use the free 3D configurator to plan a modular unit from the independent brand Klackjoy — choose size, color, and panels, and verify the exact compatibility requirements for your project.
Design your modular furniture