How to Assemble Modular Furniture: A Step-by-Step Guide
Learn how to assemble USM Haller and Klackjoy modular furniture with our detailed step-by-step guide. Includes pro tips and troubleshooting advice.
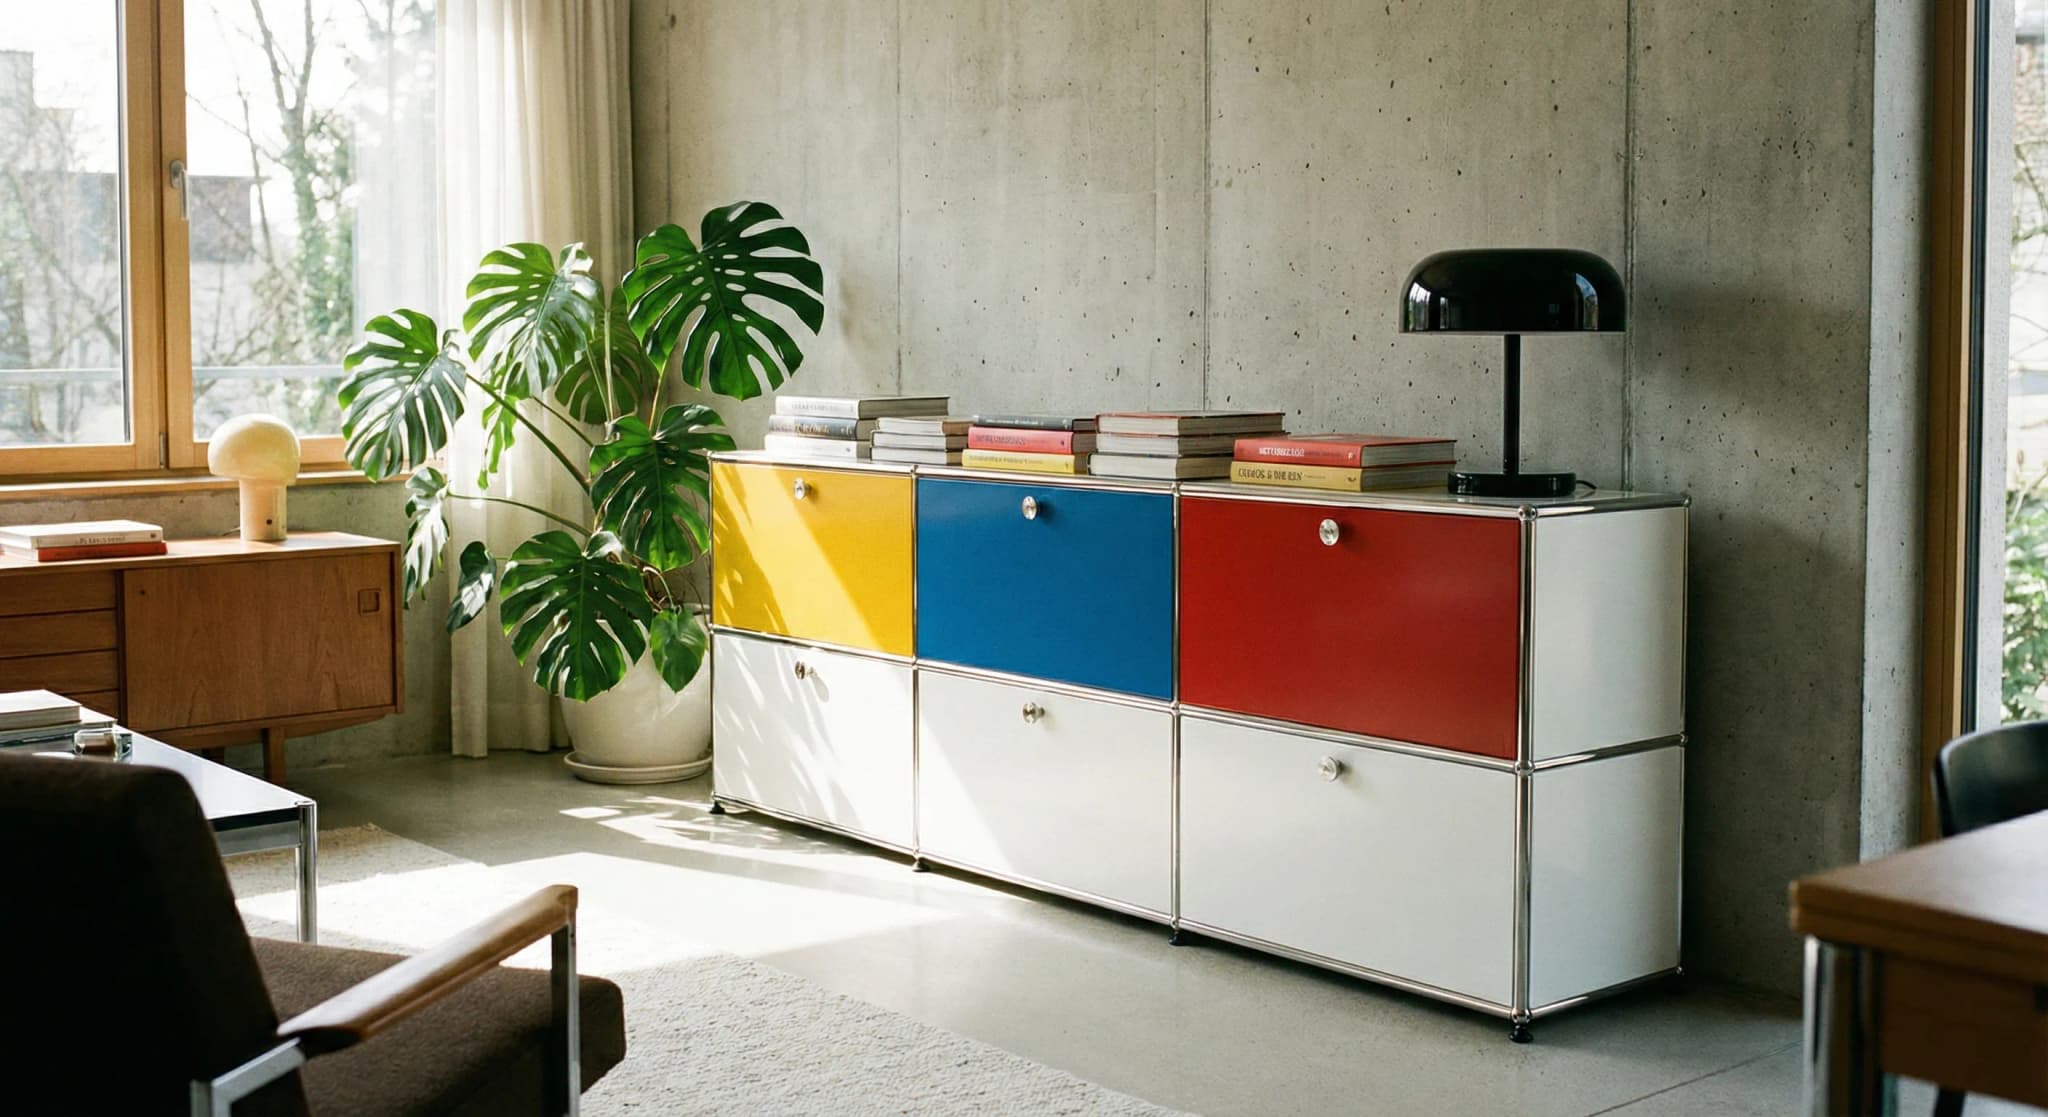
Assembling modular furniture like USM Haller or Klackjoy might seem daunting at first, but with the right approach, it's a surprisingly straightforward process. This guide will walk you through everything you need to know.
What You'll Need
Before you begin, gather these tools:
- Allen key / Hex wrench (usually included)
- Rubber mallet (optional, for stubborn connections)
- Soft cloth (to protect surfaces)
- Level (to ensure your furniture is balanced)
- Measuring tape
Understanding the Components
1. Ball Connectors (Nodes)
The iconic chrome-plated brass balls that join everything together. Each ball has 6 threaded holes arranged at 90° angles.
2. Tubes
Chrome-plated steel tubes in various lengths:
- 350mm — Standard height between shelves
- 500mm — Extended height option
- 750mm — Standard width
3. Panels
Powder-coated steel panels that form the surfaces:
- Side panels
- Back panels (optional, for closed units)
- Shelves
- Doors and drawers (for closed storage)
Panels come in 14 powder-coat shades — see the USM Haller colors guide to choose yours.
Step-by-Step Assembly
Step 1: Plan Your Layout
Before touching any components, visualize your final design. If you used our 3D Configurator, print out or save your design as reference.
Step 2: Create the Base Frame
- Connect four ball connectors with horizontal tubes to form a rectangle
- This creates the foundation of your first cube
- Ensure all connections are hand-tight initially
Step 3: Add Vertical Tubes
- Thread vertical tubes into the top holes of your base balls
- For floor-standing units, attach leveling glides or castors to the bottom
Step 4: Complete the First Cube
- Add the top layer of ball connectors
- Connect them with horizontal tubes
- You now have a complete structural frame
Step 5: Insert Panels
- Slide panels into the grooves formed by the tube framework
- Panels simply rest in place — no additional fastening needed
- For back panels, insert them before completing the cube
Step 6: Expand Your Design
- Continue adding cubes by sharing ball connectors
- Each new unit shares one vertical face with the existing structure
- This is the beauty of modular design — infinite expandability
Installing Doors and Drawers
Closed storage uses two add-ons that mount onto the same tube frame: doors (hinged or upward-swing) and pull-out drawers.
Upward-swing (flap) doors
A flap door mounts on the horizontal tube above the opening with its hinge brackets, then clips onto the gas-spring or hinge mechanism so it lifts up and holds open. Tighten the surrounding cube frame first, attach the hinges to the top tube, then lower the door into place and test the swing.
Pull-out drawers
A drawer sits on a pair of runners fixed to the side tubes of the cube. Mount the runners to the left and right tubes at exactly the same height — use a level so the drawer sits square — then slide the drawer box onto the runners until it clicks into place. Keep the cube frame fully tightened so the runners stay parallel; if the drawer binds or sits crooked, the two runners are usually at slightly different heights.
Pro Tips
Tip 1: Work on a Soft Surface
Lay down a blanket or carpet to prevent scratching chrome components.
Tip 2: Don't Fully Tighten Until Complete
Keep connections finger-tight until the entire structure is assembled. This allows for small adjustments.
Tip 3: Use the Right Torque
Ball connections should be snug but not over-tightened. Over-tightening can damage threads.
Tip 4: Level as You Go
Check for level after completing each layer. It's much harder to adjust later.
Troubleshooting
Panels won't fit? Check that tubes are properly aligned. A slight misalignment can prevent panel insertion.
Structure feels wobbly? Ensure all connections are evenly tightened. Add back panels for additional rigidity.
Chrome scratched? Minor scratches can be buffed with chrome polish. For deeper scratches, replacement components are available.
Disassembly & Reconfiguration
One of the greatest advantages of modular furniture is reconfigurability:
- Simply reverse the assembly process
- Components can be reused indefinitely
- Easily adapt your furniture as needs change
Ready to design your own configuration? Start with our 3D Configurator and bring your vision to life.
Related: USM Haller vs Klackjoy: An Honest Comparison · USM Haller alternatives compared
Frequently Asked Questions
How do you assemble USM Haller modular furniture?
USM Haller assembly is tool-free or needs only a screwdriver: connect the chrome ball connectors with steel tubes by threading them into the ball's holes, then slide the powder-coated panels into the grooves of the tube frame. Build one cube at a time, keep connections finger-tight until the whole structure is up, then tighten.
What tools do I need to assemble modular furniture?
You only need an Allen key (usually included), and optionally a rubber mallet for stubborn tube joints, a soft cloth to protect the chrome, a level, and a measuring tape. No drilling or special tools are required.
What are the standard USM Haller tube sizes?
USM Haller and compatible systems use standard tube lengths of 100, 150, 175, 250, 350, 395, 500, 595 and 750 mm, the same on all three axes. The 25 mm chrome ball connectors join the tubes at 90-degree angles, so every dimension is built from these fixed modular sizes.
How do you install a USM Haller upward swing (flap) door?
An upward swing door mounts on the horizontal tube above the opening using its hinge brackets, then clips onto the gas-spring or hinge mechanism so it lifts up and holds open. Make sure the surrounding cube frame is fully tightened first, then attach the hinges to the top tube and lower the door into place to test the swing.
Is Klackjoy compatible with USM Haller furniture?
Yes. Klackjoy uses the same modular system of 25 mm chrome ball connectors, standard steel tubes and powder-coated panels as USM Haller, so the parts assemble identically — at a significantly lower price.
How do you install a USM Haller drawer?
A USM Haller drawer sits on a pair of runners fixed to the side tubes of the cube. Mount the runners to the left and right tubes at exactly the same height — use a level so the drawer sits square — then slide the drawer box onto the runners until it clicks into place. Tighten the cube frame fully first so the runners stay parallel; if the drawer binds or sits crooked, the two runners are usually at slightly different heights.
Is there a USM Haller assembly instructions PDF?
USM supplies printed instructions with each order, but there is no single official PDF that covers every configuration, because each unit is built from the same modular parts. This step-by-step guide covers the universal method, and if you design your unit in the Klackjoy 3D configurator you get a parts list and visual reference you can save or print for assembly.
Shop the Klackjoy modular system

Read next
- Stainless Steel USM Haller Panels: The Made-to-Order GuideUSM Haller frame tubes are stainless steel, but a stainless-steel panel finish is a separate, bespoke option. Here is what stainless panels suit, how they fit, and how to request one from Klackjoy.
- USM Haller Room Divider: A Double-Sided Shelf Built to Your Exact OpeningA freestanding, double-sided USM Haller room divider zones an open-plan home while staying accessible from both sides. Klackjoy builds it to your exact width and height in a live 3D configurator.
Ready to design your own?
Use our free 3D configurator to build a USM-compatible modular unit — choose size, color, and panels.
Design your own USM-compatible unit